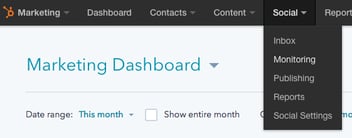
Keeping track of your social media accounts has never been easier. The Social page in HubSpot allows you to publish, monitor, and analyze your social media posts for all your accounts in one place. For the majority of this article, we will be referencing HubSpot’s “Social” dropdown list.

Publishing
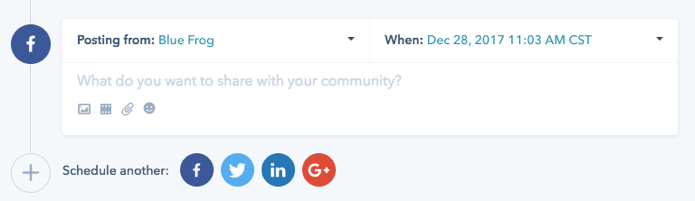
In any of the social tabs, you have the ability to “Compose a message.”
You can choose whether you want to publish it immediately or schedule a time to publish later. To publish multiple messages, click + to add another post. You can customize posts to contain different content as well as schedule them to go out at different times and over different platforms.
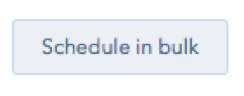
HubSpot also enables you to schedule in bulk to Twitter. Again in “Publishing,” on the right-hand side, click on “Schedule in bulk.” Twitter is the only social media platform that allows you to schedule in bulk. To do this, download the Excel template to schedule out all your posts. Pre-populated columns allow you to fill out the message, link, date/time, and campaign. Once filled out, upload the CSV/Excel file, and HubSpot will do the rest.
Monitoring
Go to “Social” then click on ”Monitoring” to see who retweeted you, mentioned you, or who you mentioned in your posts. Here, you can monitor all of your activity in one place. You can click the dropdown for “All accounts” to look at specific accounts or “Select all.”
Reports
You have the ability to view the analytics for your social media posts in the “Reports” page. Here, you can see how your posts are doing based on visits, clicks, contacts, interactions, followers, published posts, and top messages. The interactive graph allows you to see a breakdown of your posts and how they performed each day. You can also customize the timeframe if you’d like to see analytics over a different timespan.
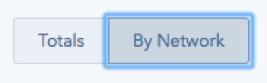
To filter reports by network, click on “By Network” in the top right corner, and this will change the graphs to show you which network received the most clicks, visits, interactions, and contacts for that time period.
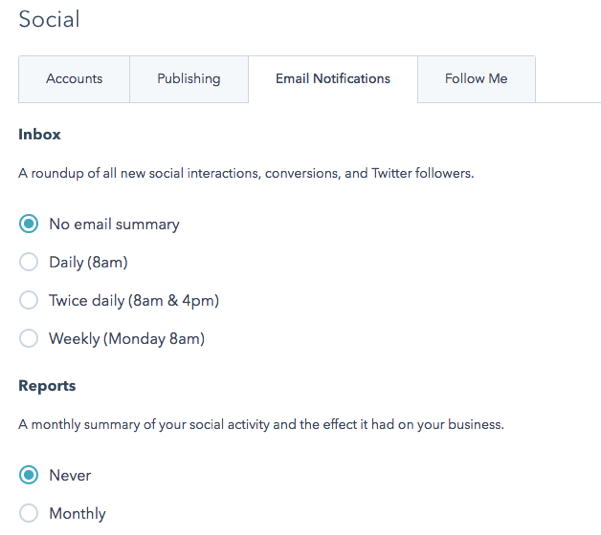
Social Settings
This page can be used to edit options like time zone, whether blog posts are auto-scheduled, social media account connections, etc. Navigate to “Social Settings” and click on “Marketing” on the left; then click on “Social.” Under the “Email Notifications” tab, you’re able to select whether or not you want an email notification of new social media activity in your inbox. If you’d like a monthly summary of your reports, you can choose to have it emailed to you, too.
Calendar
One other feature you should utilize is the “Calendar” under “Productivity.” Here, you’re able to see what’s on the docket for your accounts for the coming weeks. You can go back and look at previous months for a refresher as well.

As you see, HubSpot provides user-friendly tools for managing your social media accounts. For a refresher on the dos and don’ts of social media, check out this article. Utilizing the features here will save you time so you can focus on other day-to-day inbound marketing tasks.
Click below to schedule a consultation with one of our HubSpot certified team members!